
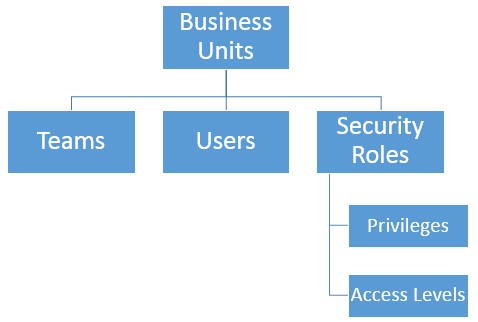
A business unit is a logical grouping of related business activities. It is the foundation of the security structure in Microsoft Dynamics 365. Each user has to be part of a business unit. There is a default business unit that is created when Dynamics 365 is installed. This is called the root business unit, and it cannot be deleted or disabled–only renamed.

Create a new business unit:
Step 1: Go to Settings > Security.
Step 2: Choose Business Units.
Step 3: On the Actions bar, select New.Step 4: In the Business Unit dialog box, type a name for the new business unit. Dynamics 365 automatically fills in the Parent Business field with the name of the root business unit.
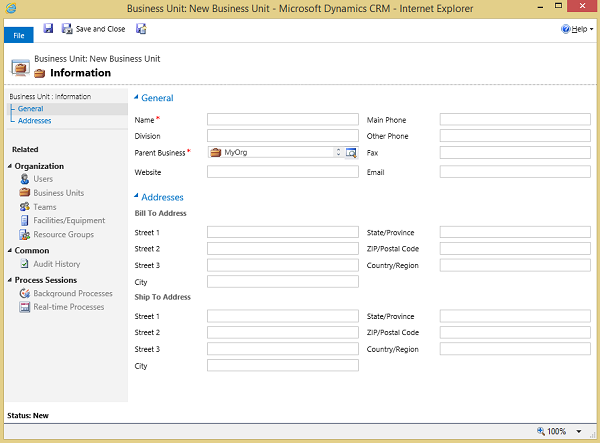
Step 5: To change the parent business unit, select the Lookup button, Look up more records, and then either select an existing business unit from the list or create a new parent business unit.
Step 6: In the Business Unit dialog box, fill in any of the other optional fields.
Step 7: Select Save and Close.
Change the settings for a business unit:
Step 1: Go to Settings > Security.
Step 2: Choose Business Units and then select a business unit name.
Step 3: In the Business Unit dialog box, do one or more of the following:
- Modify the data in one or more fields.
- Make a selection on the Actions menu.
- Select a record type under Organization to see a list of related records.
Step 4: Select Save and Close.